

Mid Week blog #46 - Faux Twisted Ribbon technique
Hello & welcome to my Mid Week blog,
I am an independant Stampin' Up® demonstrator with a passion for creating. I have a regular weekly blog on a Sunday that explores different stamp sets, die sets or products sold by Stampin' Up® and my Mid Week blog explores tips, techniques, card sketches, colour challenges & lots of other ideas to help you make the most of your crafting time. There are ideas for 'just starting out' crafters, 'in-betweeners' and more avid crafters.
This week I look at a technique I saw in a Lisa Curcio Youtube video. Using DSP strips she created a faux twisted ribbon effect & I loved it so much I really wanted to give it a try. I hope you like it as much as I do.

Here's the finished card & below are some instructions on how I made it.
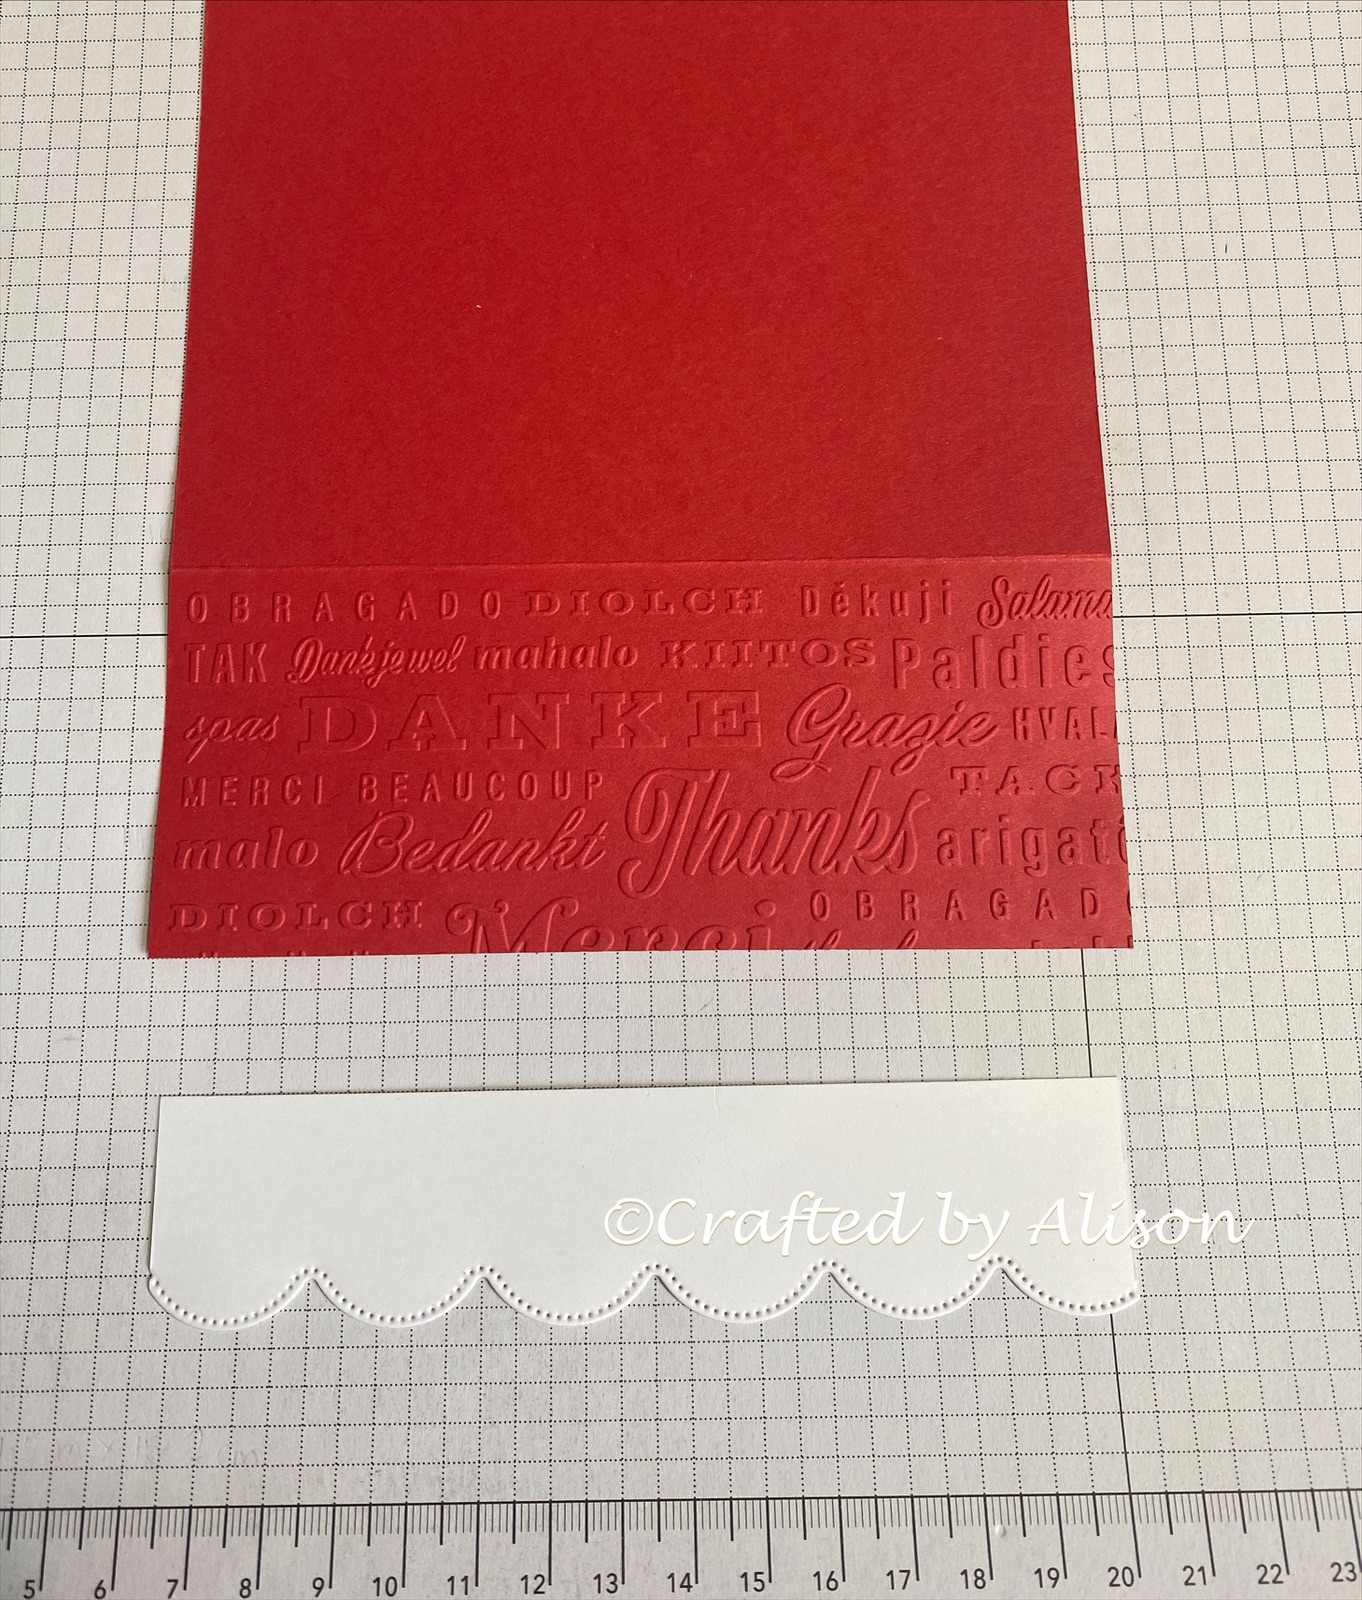
I cut Sweet Sorbet & Basic White cardstock along with Sweet Sorbet DSP as per the following picture....

and here's them again in case you can't see them very well.
Sweet Sorbet - 14.8 x 16.5cm, scored at 6cm.
Basic White - 1. 14.2 x 6cm (insert for the inside of the card)
2. 14.8 x 4cm (for the faux twisted ribbon technique)
3. 14.2 x3.5cm (for the scalloped edge of the card front)
4. 6.7 x 6.7cm (for the front image)
Parakeet Party - 7.2 x 7.2cm (to matte the stamped image.)
DSP - 1.5cm strips. 2 each of 2 designs.
## After I had placed all the pieces of the card together I decided to add a small matte of Basic Black cardstock (7.6 x 7.6cm) to give it a little 'pop'.
Using the Thanks embossing folder from the Thanks & Hello set I embossed the top of the card front. I also used the Scalloped die from Scalloped Contours dies to create the scalloped edge for the card front.
The next step was creating the Twisted Ribbon effect. Using the 14.8 x 4cm piece of Basic White I marked along both edges in 1.5cm intervals.

With one pattern of the DSP strips I glued them down diagonally, using the marks as a guide.


The second pattern is then glued in the opposite direction.


The next step was to create the stamped image. As the new In Colours are so rich & pretty I chose Parakeet Party & Sweet Sorbet for the floral image from Bottled Happiness. This was then matted with Parakeet Party & after a little thought, a second matte of black.


Comments
Post a Comment