Mid Week Blog series #12 - Sponge daubers.

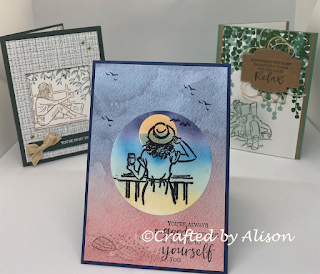
Hello and welcome to my mid week blog, These mid week blogs are designed to be shorter than my Sunday blogs so that I can share techniques, card design or other tips and tricks with you. Today I will show you how to use the super cute little fingertip sponge daubers to create different finishes. #1. Background colour. Step 1. Gather materials. Step 2. Gently dab the dauber onto the ink pad. Step 3. The inked up dauber. Step 4. Gently rub the cardstock with the dauber to create the amount of colour you want. #2. Edging highlights. Using some acetate behind the cardstock, gently rub inwards from the edge of the cardstock to give a speckled finish. #3. Fill in colour. Step 1. After stamping your images onto the cardstock gently rub outwards from the centre of the flower using a flicking motion. Step 2. Continue adding colour outwards until all the flower is coloured to your liking. As you can see from the pictures above I have used the dauber to create most of my car...