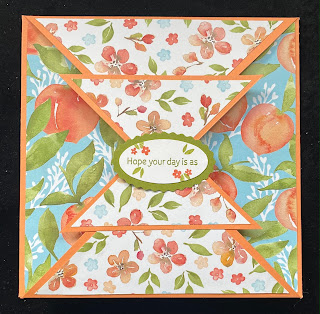
Sweet Peaches - Fruit salad
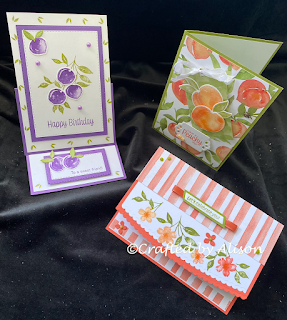
Hello & welcome to my blog, If this is your first visit, I hope you enjoy it & come back again. If you are returning, welcome back & thank you! This weeks cards are almost good enough to eat! They are made with the Sweet As a Peach stamp set, Peach dies & You're a Peach DSP. I hope you like them as much as I enjoyed creating with them! As I was looking for inspiration on Pinterest I noticed there were a lot of cards with gorgeous peaches plus a couple with the pretty flowers. I wanted to show something a little different with this stamp set & I found a post by Mary Knabe at StampinPeace where she created all different sorts of fruits using the peaches from Sweet as a Peach. That's how my first card started. I started by stamping some leaves onto the centre panel & also stamped the smaller peaches in a variety of colours. I liked the look of the Gorgeous Grape for plus & then decided an easel card would look cute. I used Gorgeous Grape & Pear Piz...