Hello & welcome to my blog,
My name is Alison & I am an independent Stampin' Up® demonstrator in Melbourne, Australia. I love creating cards & gifts for my loved ones & this blog will show you how to create something special for those you love.
I hope you all had a lovely time over Christmas. I had a great Christmas day at my Brother-in-laws then tidied the mess left over from getting ready for the big day while I watched the Boxing Day test. Perfect down time after the crazy few weeks build up to Christmas.

Today's blog shows you how to create this step card with a little pop up in the centre. I created this card for my 25/12/22 Sunday blog as the focus was on the cute Elephant Parade stamp set. I only touched on the card in that blog. Here are the detailed steps I took to create it.

Start with 2 regular 21 x 14.8cm card bases. Score one at 10.5 on the long side. Score the other one at 10.5 & 15.75. These will be the main section of the finished card.

These are the mattes & images I used on the card.
The inside of the card has a Mossy Meadow matte measuring 10 x 14.3cm plus a Basic White matte measuring 9.5 x 13.8cm.
The front of the card has a Mossy Meadow matte measuring 10 x 4.75cm plus a piece of Happy Forest Friends DSP measuring 9.5 x 4.25cm.

I then cut a piece of Basic White at 13.8 x 7cm for the pop up mechanism & scored it at 1.5, 3, 4,5 & 6cm on the short side.
Adhere the two sets of mattes together as shown.
The elephant is stamped in Gray Granite then coloured with Flirty Flamingo, Gray Granite & SU800 Stampin' Blends®.
The leaves are stamped in Mossy Meadow then coloured with Mint Macaron & Soft Sea Foam blends.
The balloons were stamped in Tuxedo Black then coloured in Mint Macaron, Granny Apple Green, Daffodil Delight & Pineapple Punch blends.
All of the images were then diecut with the Elephant dies.
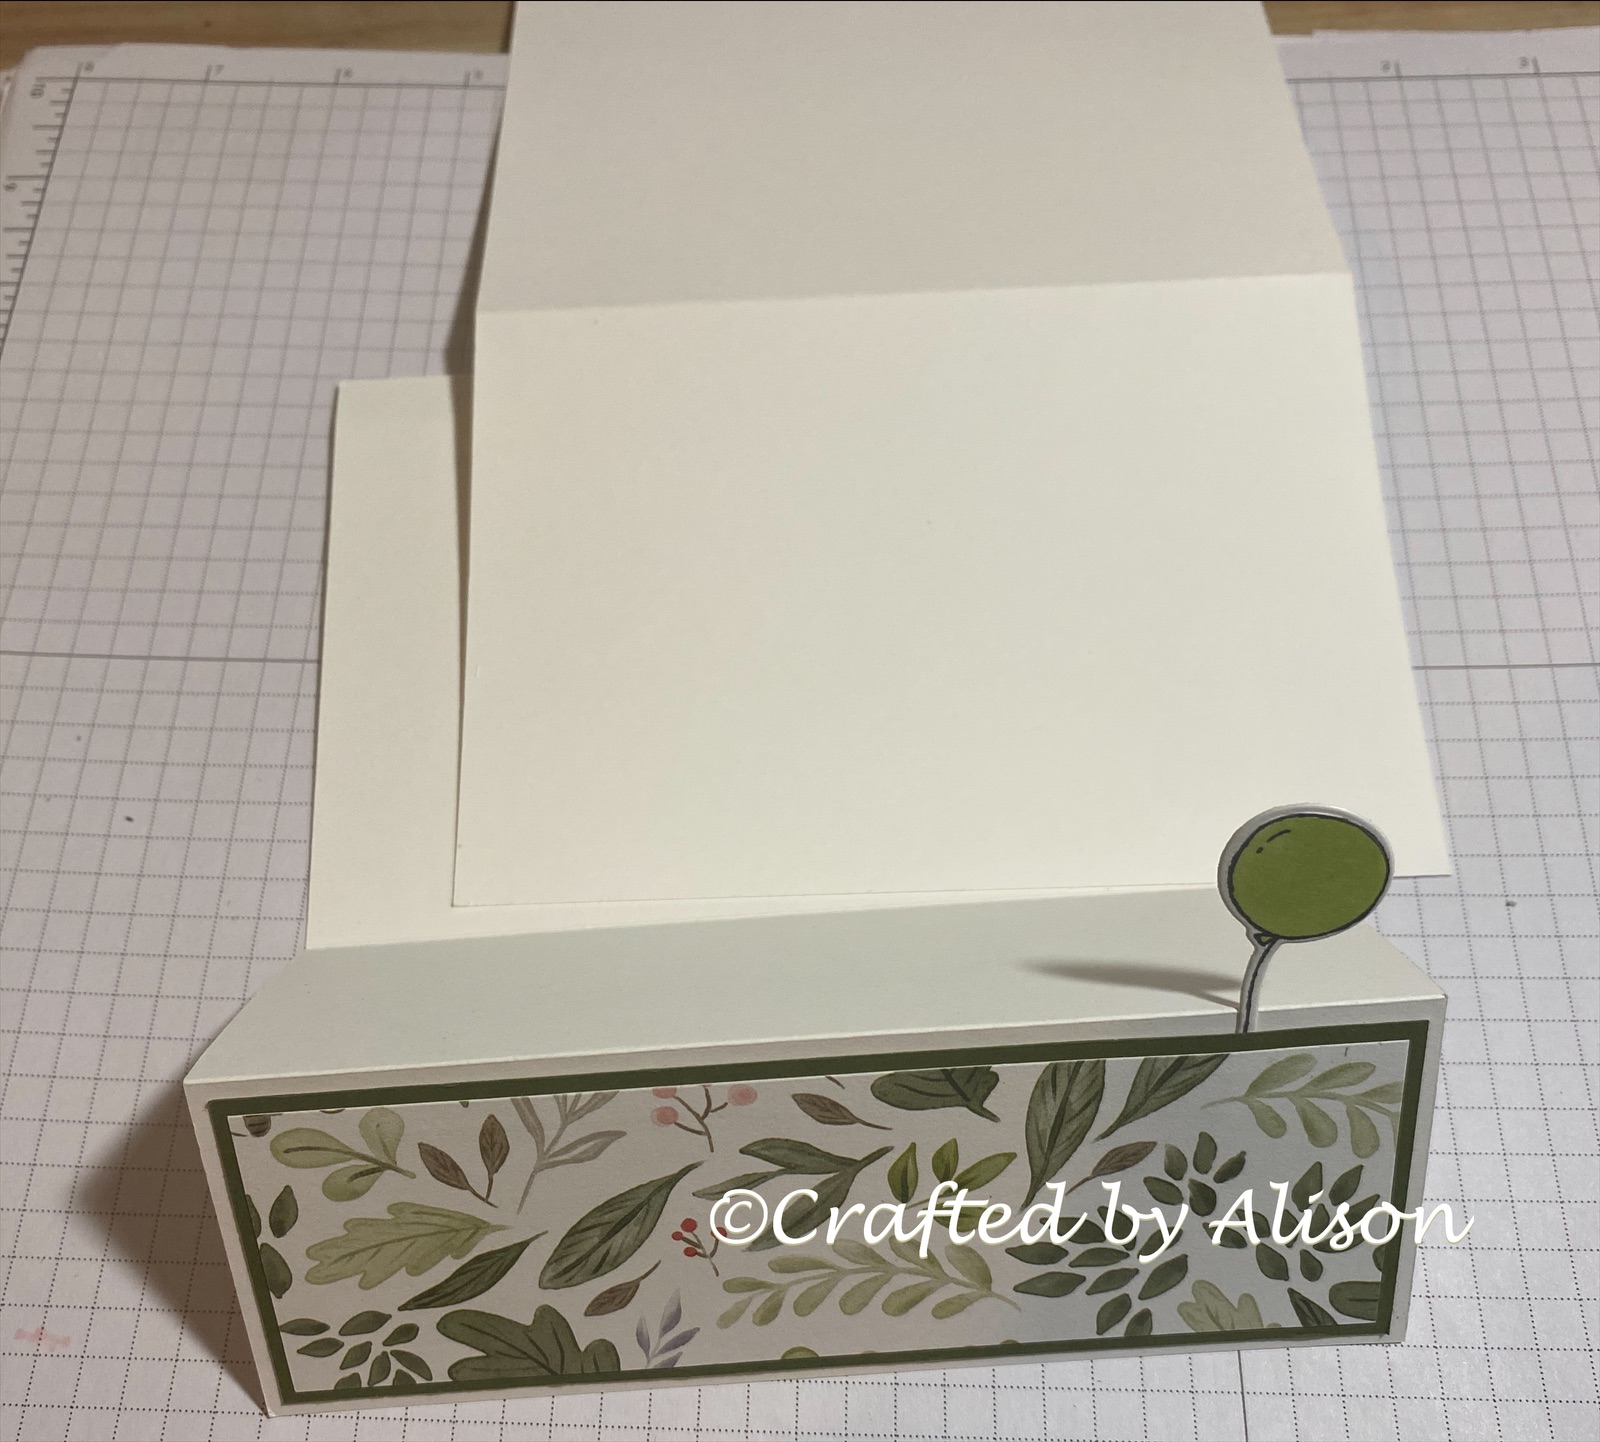
Before attaching the front step matte I adhered one balloon to the Basic White to add some dimension, then I glued the two card bases together to give a more stable card that can stand up.
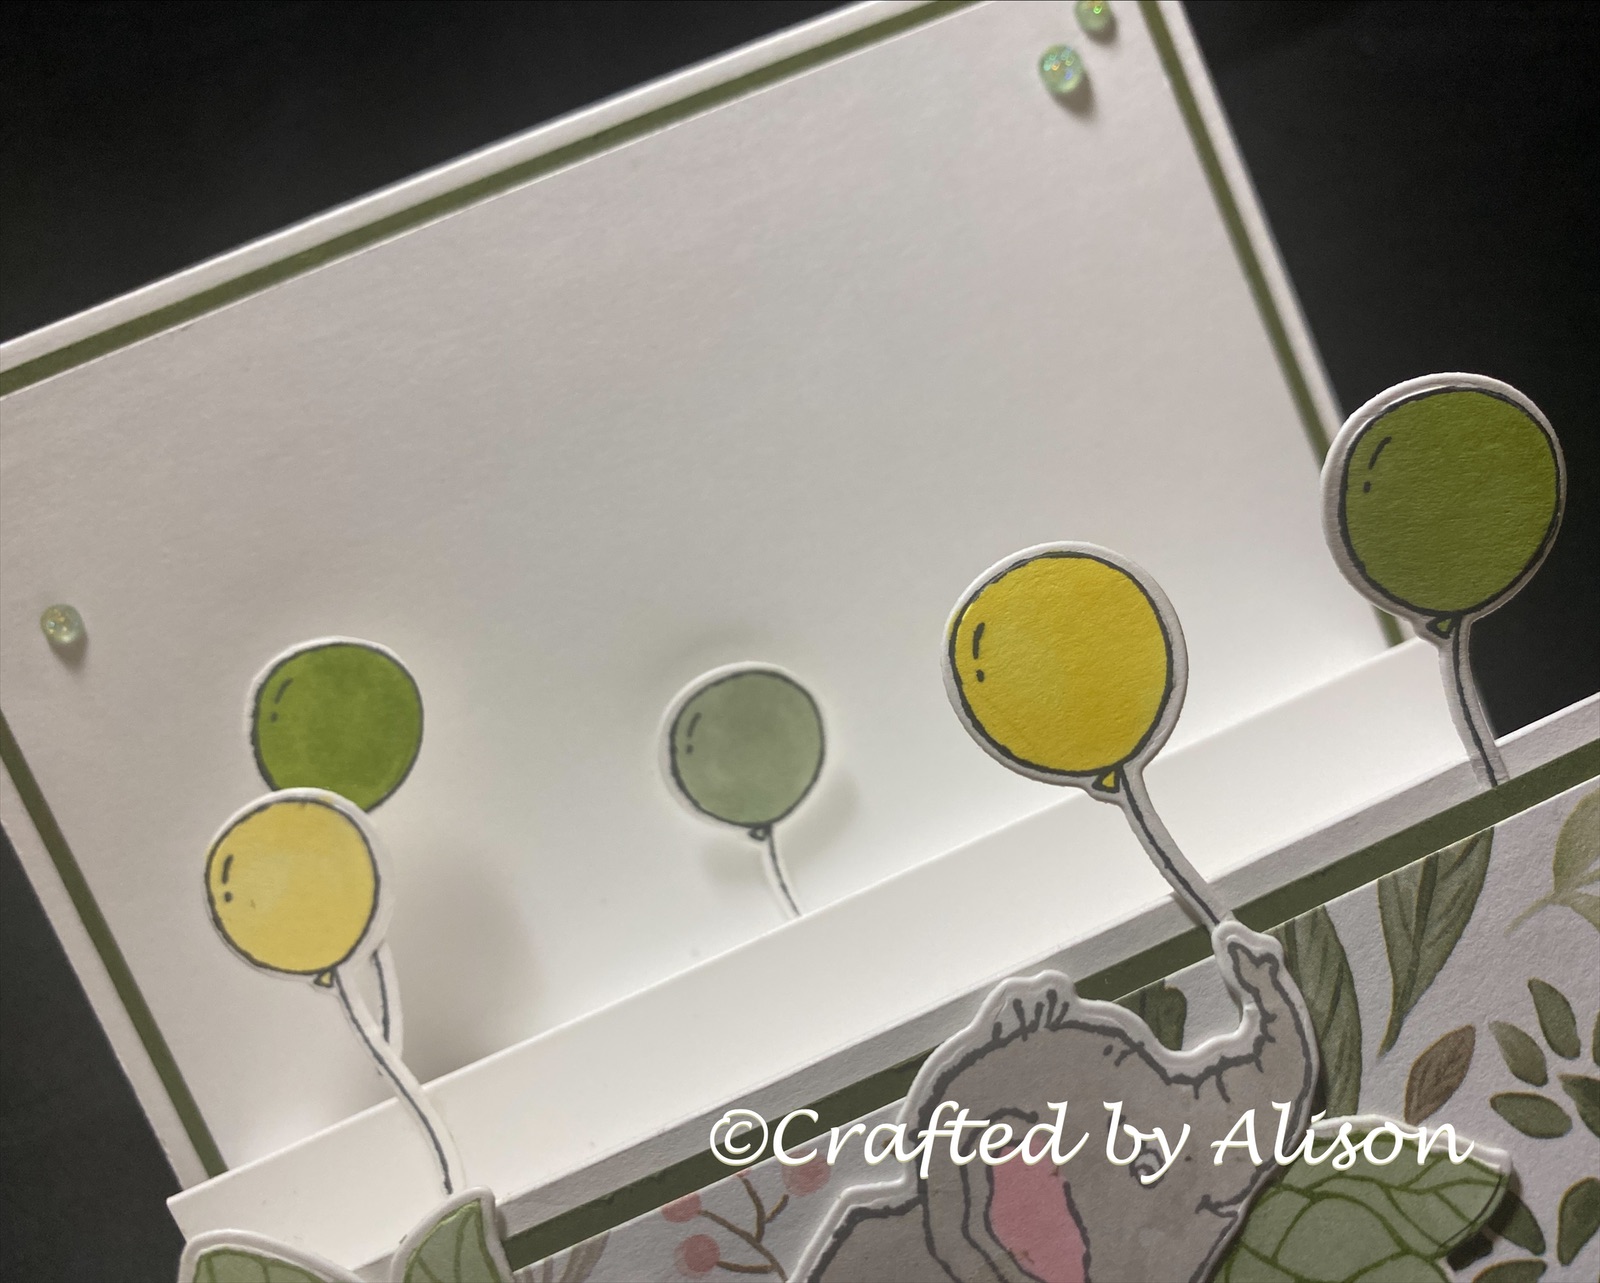
The pop up mechanism was glued together (forming a cube) & the remaining balloons were attached behind & in the front of the cube, allowing a space for the elephant (with a balloon on his trunk & leaves beneath him) on the front step to peep through.
Two sides of the cube then have glue applied & attached to the inside of the card base as shown below.
The elephant is adhered to the front step & some genial gems applied to the inside of the card & the front step. I stamped the sentiment in Mossy Meadow then fussy cut it, added a spare set of leaves behind it & mounted it with dimensionals
And that's the card finished!
As you can see, there is a 3D effect with the balloons which almost disappear when closed but pop up when opened. It's a simple addition to a regular card but it adds a little bit of interest.
I hope you enjoyed this tutorial for making a pop up step fold card.
That's it for another mid week blog. My next blog is on Sunday - New Years Day! If you have plans for New Years Eve I hope you enjoy them & stay safe. The blog will feature a gorgeous new masculine stamp called Brewed. In next week's mid week blog I will show you how to cut 6 x 6" DSP to create multiple cards from the one piece of 6 x 6" paper. I hope you can join me for both of them.
Til next time, I hope, if you celebrate the New Year, that you have a wonderful time with the people you love. Stay safe & enjoy the holidays.
XX Alison


Comments
Post a Comment