Hello & welcome to my blog,
My name is Alison & I am an independent Stampin' Up® demonstrator in Melbourne, Australia. I love creating cards & gifts for my loved ones & this blog will show you how to create something special for those you love. I blog twice a week, once on a Sunday where I mainly showcase a stamp set or dies & sometimes special DSP. My second blog is mid week on a Wednesday where I look at techniques, colour challenges, card sketches, fun folds, tools & equipment & ways to make or improve your projects. That's what this blog is about.
This week I'm sharing some tips to use when you are blending.
There are a number of ways & that you can blend & tools to use to help make it easier & achieve a great finish. You can use a sponge, a sponge dauber that slips onto the end of your finger or what I have used in this blog, a blending brush.
Here is a picture of the finished card.
I started with a Basic White card base, embossed a piece of Crumb Cake with the Seashells embossing folder & trimmed it to be slightly smaller than the front. I also cut a smaller piece of Basic White to blend onto.
The colours I chose are Crumb Cake & Pool Party. You can see the two blending brushes that I used on the right. I don't have one for each colour, that would take up way too much room, but I do have enough for each colour family.
I started by blending some Crumb Cake across the bottom of the card. To blend with these brushes, tap them gently, directly onto the inkpad then dab onto scrap paper to take off the excess. You can see to the right of the cardstock where I have tapped. Then, with a swirling motion, gently apply the ink to the areas you want covered. Once I had achieved the colour I wanted I then stamped some 'sand' type of spots onto the same area.
Next up I did the blue area using the same technique.
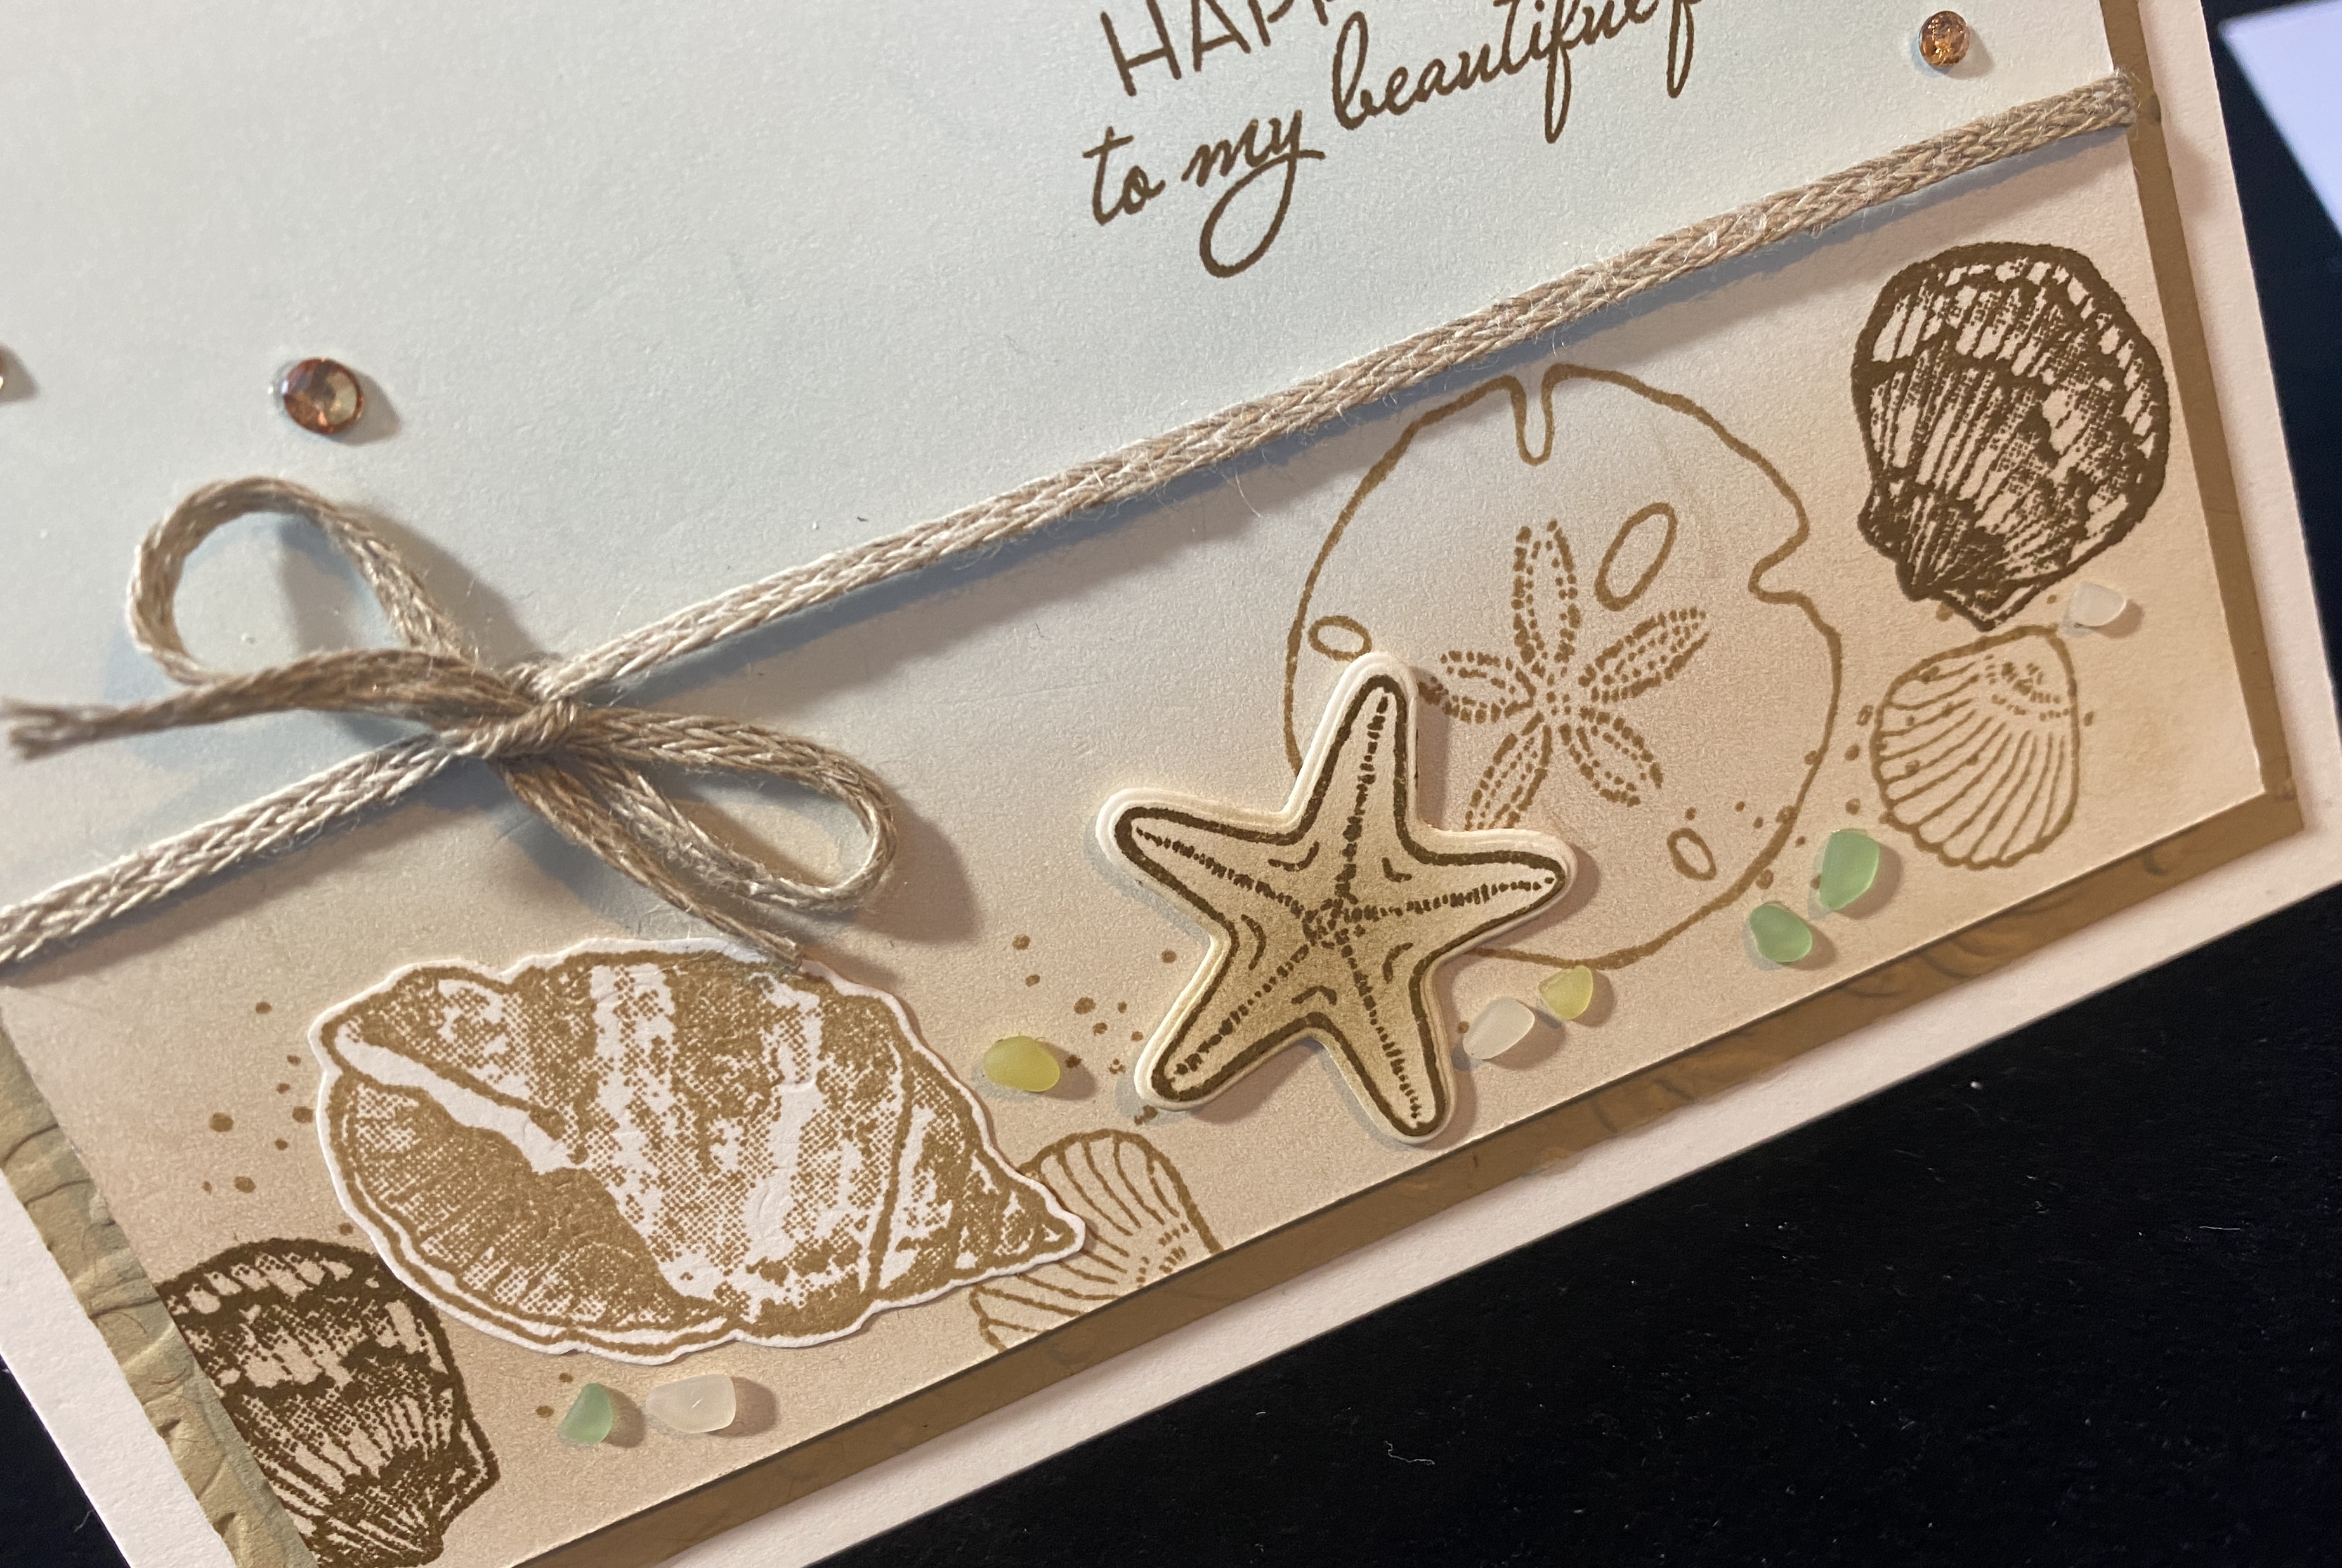
I chose Soft Suede & Crumb Cake for the shells & stamped them directly onto the beach are, plus a couple on scrap card which were then cut out & adhered with glue and glue dots. The sentiment is stamped in Soft Suede & comes from the Friends Are Like Seashells stamp set.
Next I wrapped some Braided Linen trim around the matte before I adhered it directly onto the embossed matte. This was then adhered directly onto the card base.
The final touch was to scatter some Faux Sea Glass shapes around the shells plus a couple of Champagne Rhinestones on the blue area. I think it's a really pretty card that will be loved by the recipient.
Thanks for joining me, I hope you enjoyed this technique & will try this yourself. If you do I would love for you to post a pic on my Facebook page, craftedbyalison.
That's it for this week. I hope to post my next blog on Sunday featuring a different creation using the Sweet Citrus stamp set. Unfortunately my sister has been placed into palliative care & we are unsure how long we have left with her. As you can imagine, this is a very stressful & busy time for us all so if there is not post then please understand why. Next week's mid week blog will feature a funfold if my sister's health holds up.
I hope you can join me for both of them. Til next time, take care & keep creating!
XX Alison


Comments
Post a Comment