

Flip Funfold card - two ways
Hello & welcome.
My name is Alison & I live in beautiful Melbourne, Australia.
For those of you who have previously visited my blog & are now returning, thank you. For those of you who are here for the first time, welcome!
Here's a little bit about me. I love creating cards & gifts for my loved ones & this blog will show you how to create something special for those you love. I blog twice a week, once on a Sunday where I mainly showcase a stamp set or dies, embossing folders, projects & sometimes special DSP and Wednesday evenings when I highlight a technique, fun folds or tools & tips. I would love to hear from you if you have any questions or suggestions & my email address for that is craftedbyalison@gmail.com.
Stampin' Up® 's Annual Catalogue was released last year with a very different format & it was a beauty! It was set out quite differently to previous catalogues but there are benefits to that. They now have sectioned it to have beginners, which is a step by step collection of materials in kits, then there is quick & easy where you select base materials & packs of pre-printed or diecut materials plus some stamp sets then there is create your way where you choose all the materials, stamps etc yourself & create your way! In the quick & easy section Stampin' Up® have also provided some inspiration with a colour wheel & information of various ways to use colour combinations. I explored this in a bit more detail in my 1/1/25 mid week blog & also in 30th April blog. The mini catalogue was launched on January 7th and has now retired so there is only the Annual catalogue & the Online Exclusives until the next Mini catalogue is launched in September.
Stampin' Up® also have products available only online. These are called Online exclusives & have no end date, when the stock is sold out, that's the end of it. The new Annual catalogue is now live! If you'd like to browse the new catalogue online then click here. If you'd like a copy to hold in your hands, leaf through & put little notes all over it of what's on your wish list then shoot me an email at craftedbyalison@gmail.com or message me on my facebook page at craftedbyalison.
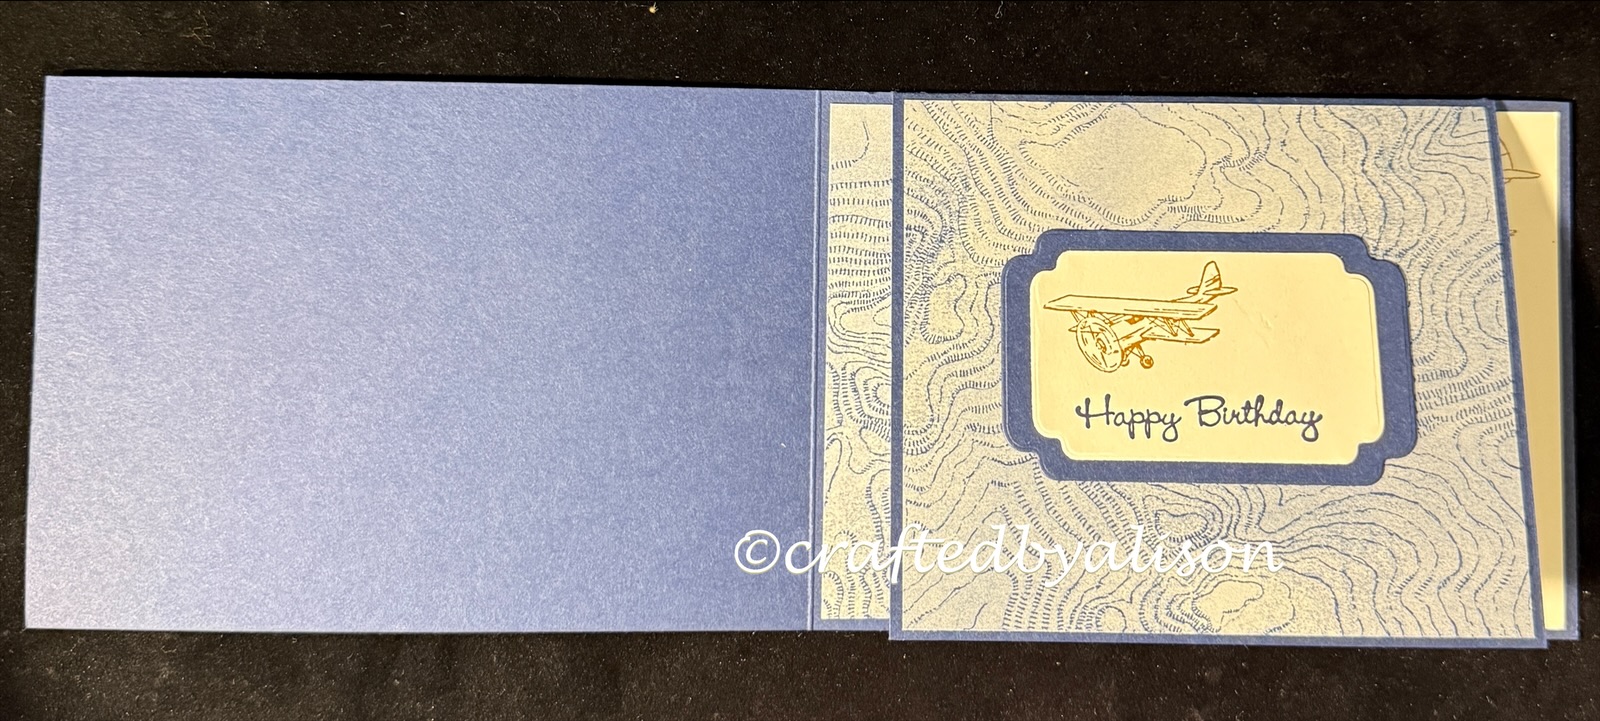
One of my favourite ways of creating is to use funfolds as there are a myriad of designs & a funfold can make a lovely card into a WOW card. This week I am sharing a funfold that is simple to make but adds a little bit of pizazz. The creation comes from a Creativate online crafting retreat that I attended recently & I have created one card with the flip fold on the right of the card as per the instructions & another with the flap at the top of the card, just for something a little different. I hope you like them.

Both cards are made with a single sheet of cardstock with some simple cutting that creates the flip fold section of the card.
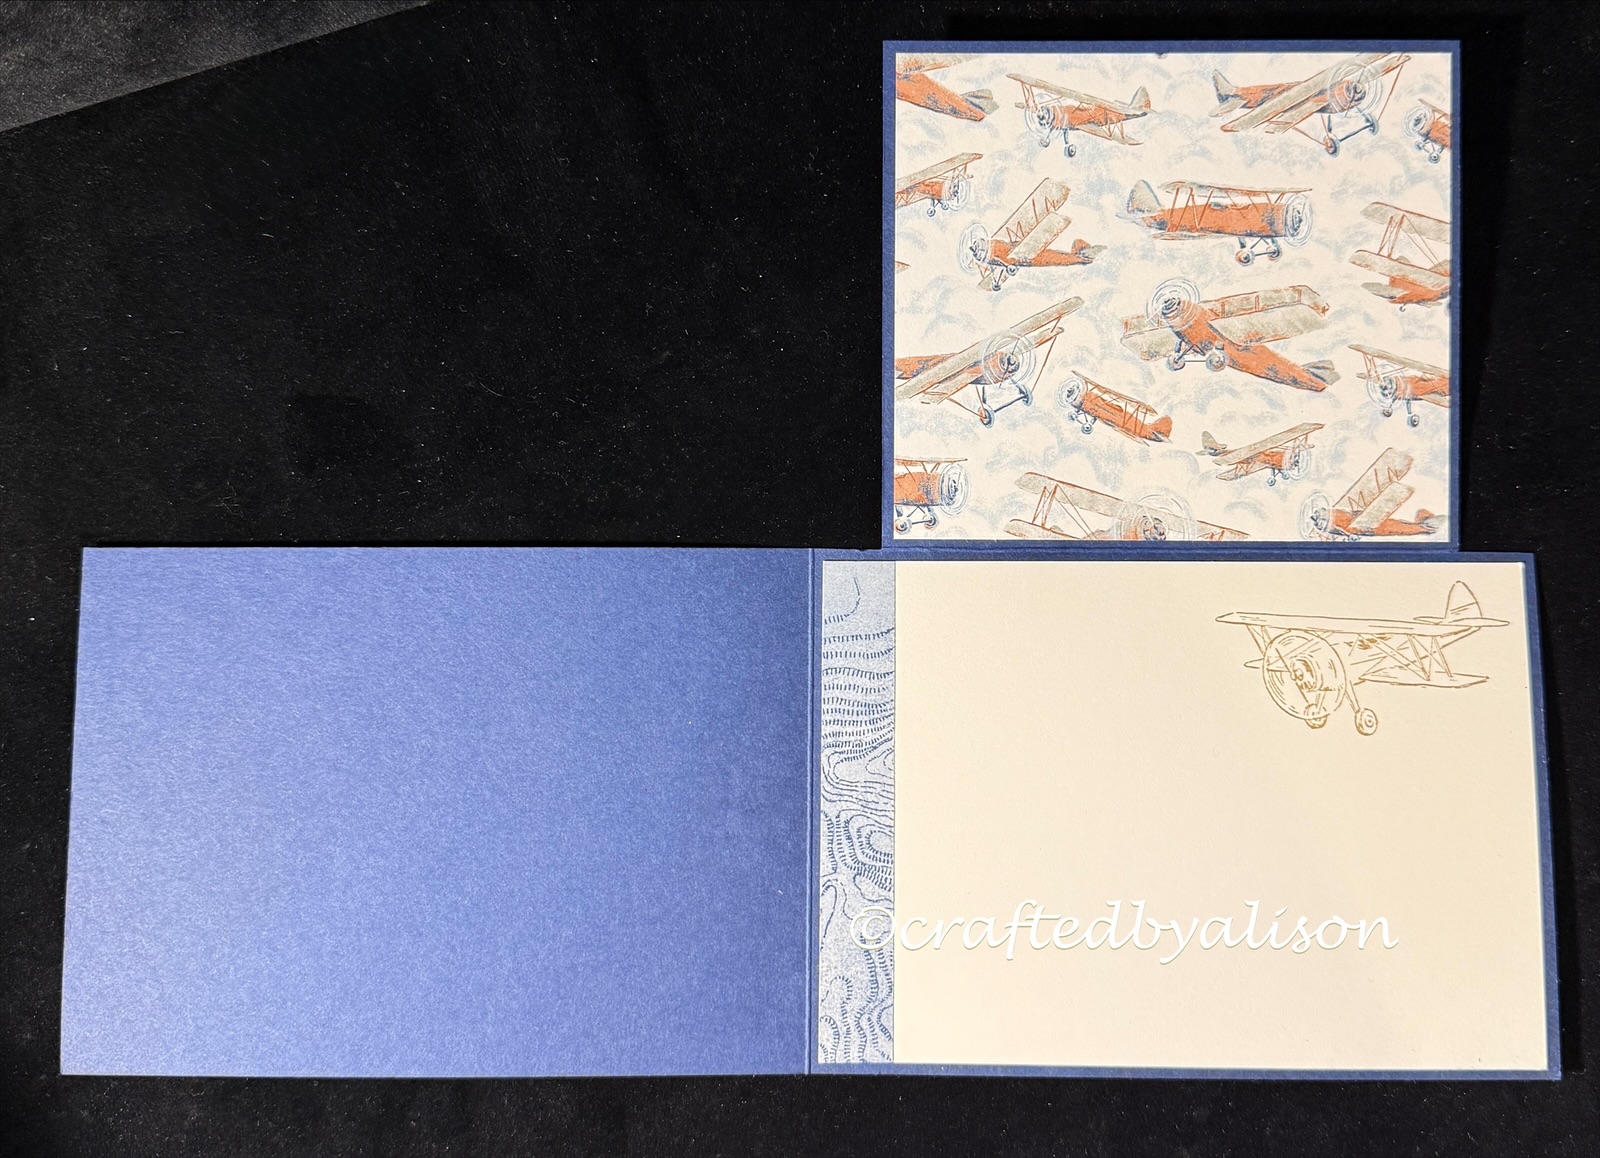
I'll start with the side flap card. Here are the supplies...

I used Blackberry Bliss & Basic White cardstock with Thoughtful Journey DSP.
The cutting & scoring details are:
Score the cardstock in half on the short side at 10.5cm then turn 90 degrees & score the long side in half at 14.85cm.
With the Blackberry Bliss cardstock in the landscape orientation, cut down the centre score line to 12cm, turn 90 degrees & trim the whole section off from the right hand side.
Now cut a 1.5cm section from the bottom of this side, leaving you with a large section removed at the top & a small section at the bottom. This now gives you your card base with a flap included.
I used 2 pieces of the Thoughtful Journey DSP - 1 piece cut to 10cm x 14.35 plus 2 pieces cut to 7cm x 14.35. A small strip is also used for the edge of the inside matte.
There is also a 10cm x 14.35cm matte for the inside as well as a small strip of cardstock & Basic White for the sentiment & matte.
The larger piece of DSP has a sentiment from Go To Greetings stamped in Blackberry Bliss directly onto it & is adhered to the card front.

The two smaller pieces of DSP are adhered to both sides of the flap.


You’ll brighten up someone’s day with the Hello Hollyhocks Kit! With colourful hollyhock designs, this kit’s all-occasion cards can help you send a friendly hello or a note of thanks to flower-loving friends and loved ones. Pair the desired sentiment, designed die cuts, and images from the kit to quickly create timeless cards.
If you would like to purchase any of my creations that I feature in my blogs they can be found in my FaceBook shop at craftedbyalison or you can order something unique.
I hope you've enjoyed today's post. I love creating with funfolds. If you decide to try this one, please feel free to pop a pic of your creation on my facebook page.
That's all I have for you this week. My next blog is on Wednesday & I will share one of the beautiful DSPs available from Stampin' Up®.
- No embellishments used this week


Comments
Post a Comment