

Mid Week blog #38 Using a scoreboard for detailing
Hello & welcome to my Mid Week blog,
I am an independant Stampin' Up® demonstrator with a passion for creating. I have a regular weekly blog on a Sunday that explores different stamp sets, die sets or products sold by Stampin' Up® and my Mid Week blog explores tips, techniques, card sketches, colour challenges & lots of other ideas to help you make the most of your crafting time. There are ideas for 'just starting out' crafters, 'in-betweeners' and more avid crafters.
This week I will show you how to use a scoring board or scoring tool to add interest & detail to your creations. I must confess that once I got started on this project I got a bit carried away & have got 4 samples for you this week!
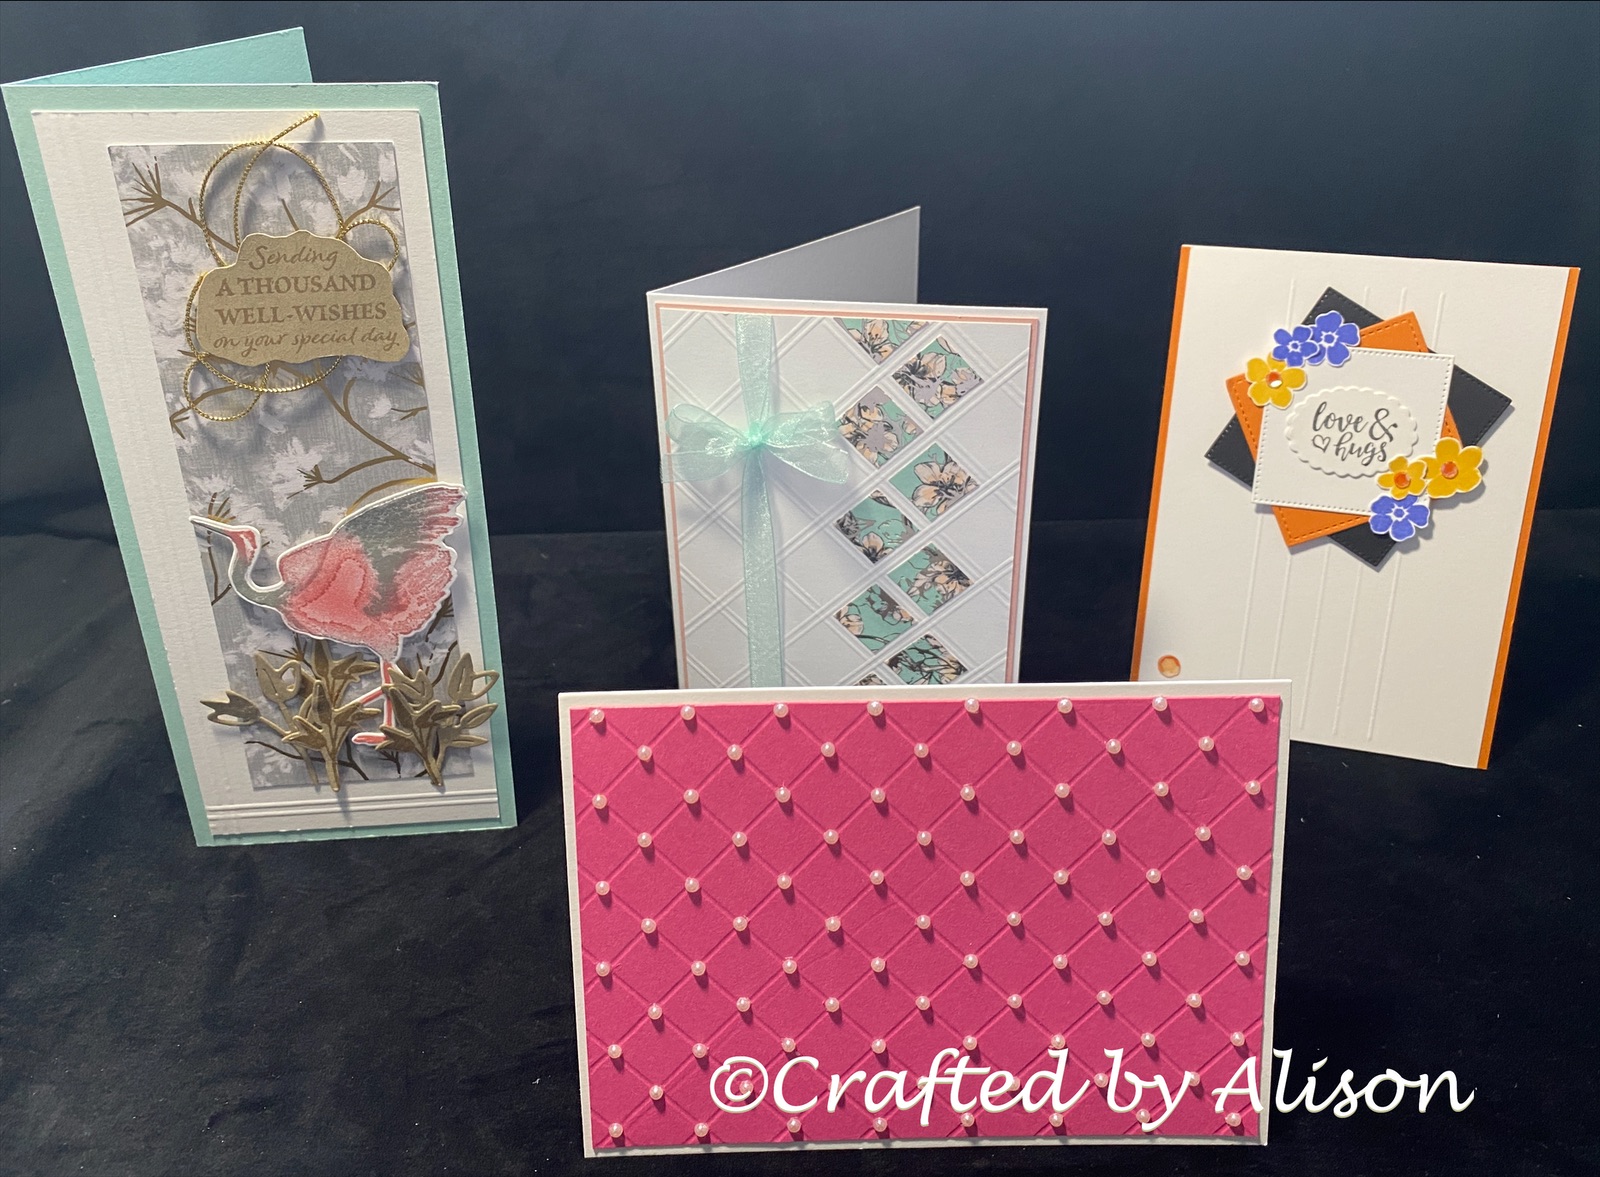


This next set of pics show a quilted design created by scoring on the diagonal of the same scoreboard. When finished I added it to a white card base & added pearls at each of the intersecting lines. It reminds me of a popular handbag design but I haven't seen it in pink! LOL. I've put this one aside to be finished off at a later date.


The final card uses a similar pattern as the previous card but the squares are are larger & I used 2 lines per square rather than one. I added some small squares from some retired Parisian Blossoms DSP & some Pool Party sheer ribbon before adding a Blushing Bride matte. No sentiment on this one yet. It will go into my stash for a quick card when needed.


So that's it for another Mid Week blog. I hope you've enjoyed seeing how easy it is to create using a score board. If you don't have either of the tools I used you can visit my online shop at Stampin' Up® or use a ruler & scoring tool. I would suggest that you use a little bit of washi tape (or something similar) to hold the card in place if you do use this method.
On Sunday I am featuring some very pretty cards made using Colour & Contour stamp set & co-ordinating Scalloped Contour dies. Next week's Mid Week blog features a fun fold for you. I hope you can join me for both of them. Til next time, take care & keep creating! XX Alison


Comments
Post a Comment