Hello & welcome to my blog,
My name is Alison & I am an independent Stampin' Up® demonstrator in Melbourne, Australia. I love creating cards & gifts for my loved ones & this blog will show you how to create something special for those you love. Today's blog is all about using regular stamp sets to create Christmas cards. To make this week's creations I've taken the beautiful Artistically Inked stamp set & tweaked it to design a card & a gift box for the Christmas season. I hope you enjoy what I've created!


Now the Artistically Inked stamp set is a beautiful stamp set which can help you make some gorgeous creations but who would have thought that this beautiful floral set could also be used to make Christmas themed creations? I think that the leaves of this set make a lovely wreath & I've created 2 similar but different colour ways to show you the versatility of this set.


To create the card I started with a Garden Green card base then added a piece of Boughs of Holly DSP. On some Basic White cardstock I first used a circle from the Layering Circles dies to lightly pencil a frame as a base for the wreath. I then used the double leaf stamp & Garden Green ink to stamp around the circle, adding a few of the smaller leaves when I thought they were needed. I stamped some of the some of the small flowers in Real Red on scrap then die cut them out with the Artistic dies. These were added to the wreath randomly with mini glue dots as was the bow, made from Gold Shimmer ribbon. I repeated the layering inside the card & stamped some leaves & flowers on the Basic White layer as well as a matching envelope. On scrap white I stamped a sentiment from Trimming the Tree & diecut with the Tree Trimming dies. This was raised on dimensionals & the card was finished.
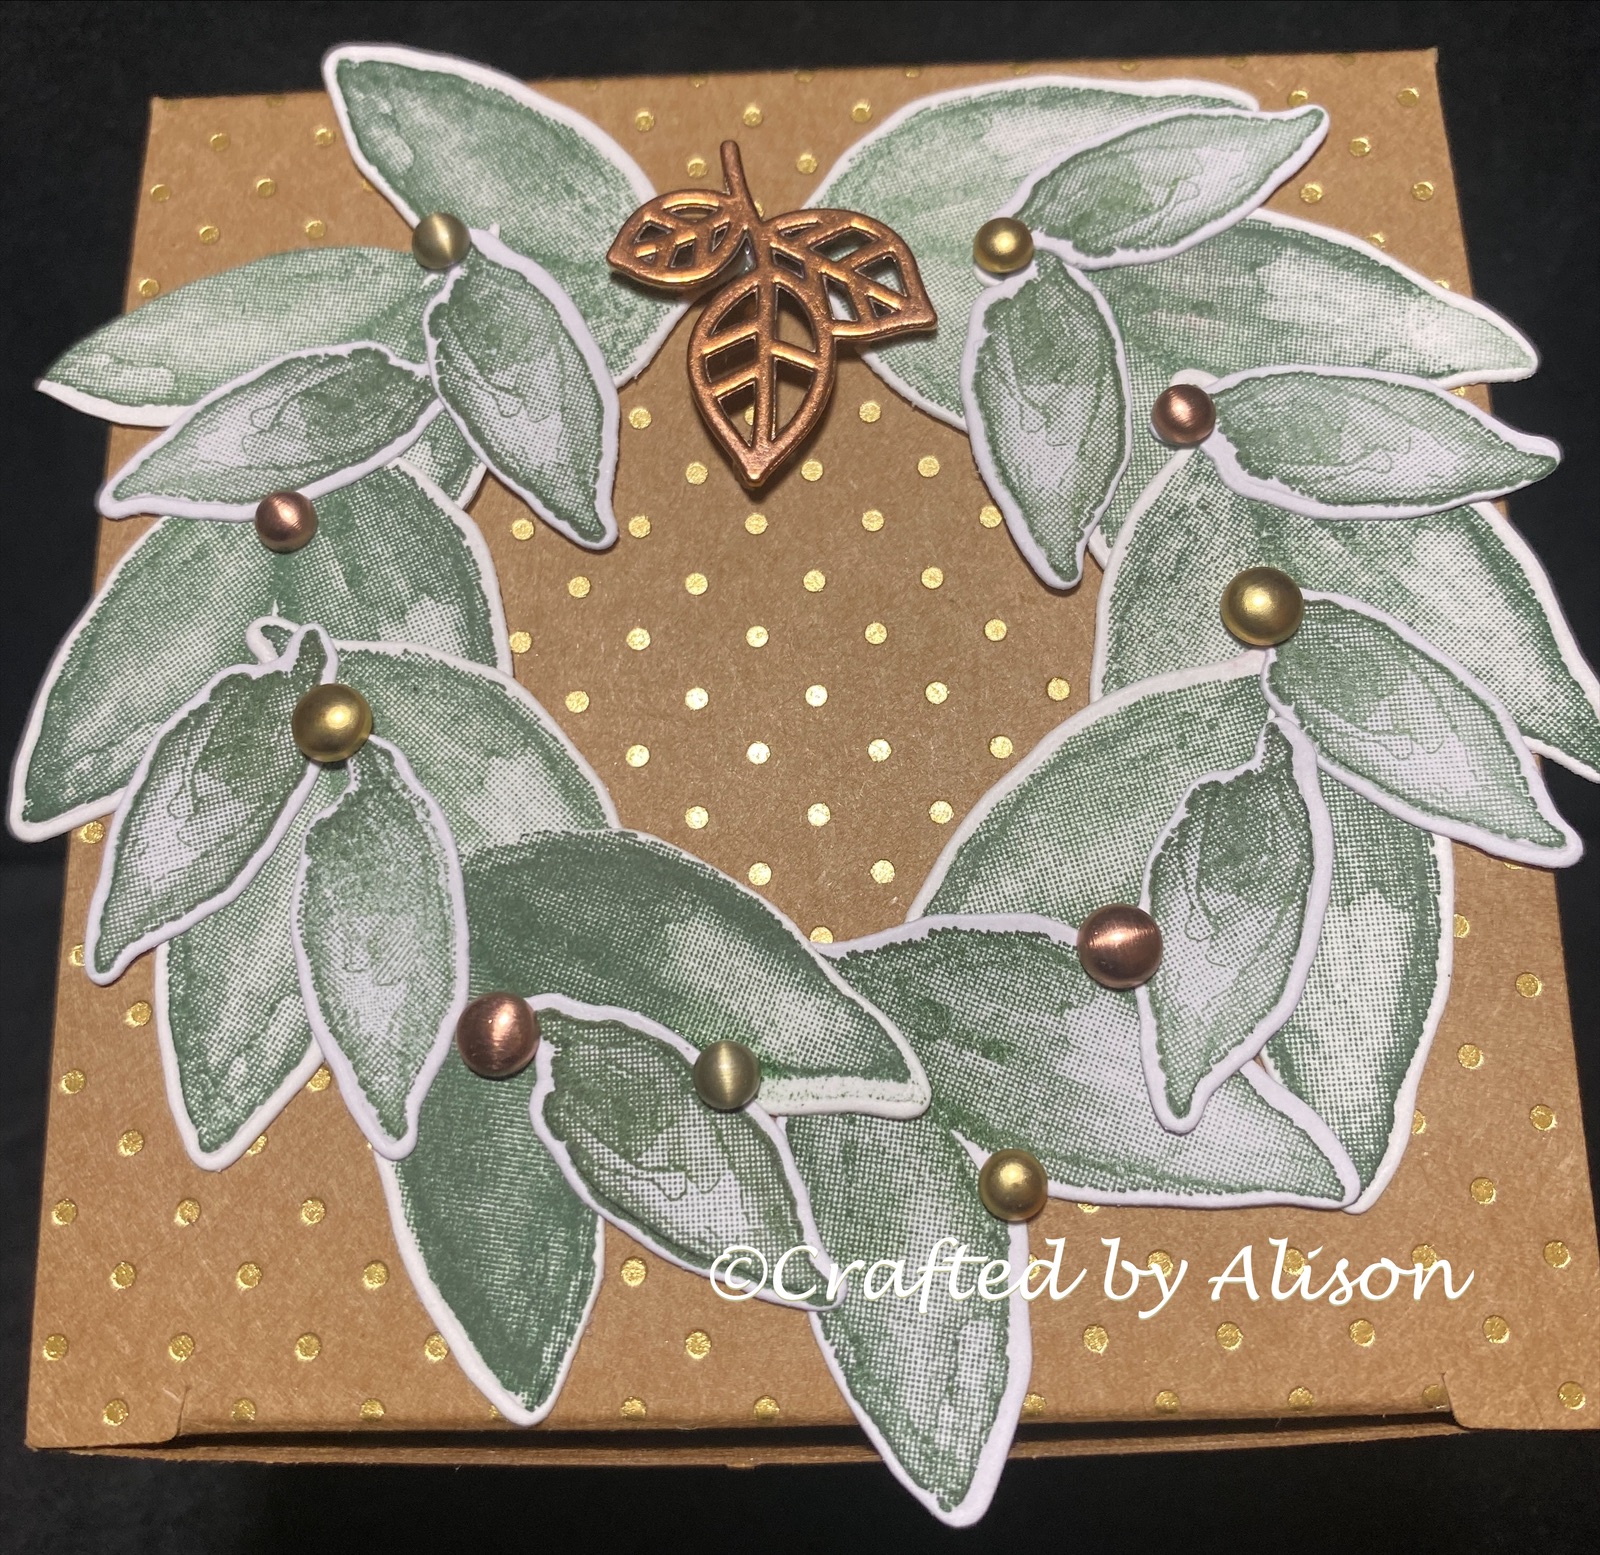
The gift box was super easy to create. The box itself comes in two parts & is quickly assembled. I used a little Tear & Tape on joining areas to give it a little extra hold but left the top hinge so it could be opened as a complete lid or just the flap. To decorate I stamped the double & single leaves in Evening Evergreen then diecut them with the Artistic dies & arranged them on an Evening Evergreen ring that I had diecut using 2 different sizes of the Layering Circles dies. Instead of the red that I had used on the card I decided to go for a metallic look this time & added some Brushed Metallic dots & a bronze Leaves trinket instead of a bow. The wreath was then popped onto the lid using Multipurpose liquid glue.
The gift box is 8.9 x 8.9 x 6.4cm & could fit a variety of small gifts. I would make a co-ordinating set to give the card & box but wanted to show you different ways of using colour.
Thanks so much for stopping by. I hope you can join me again on Wednesday for my Mid Week blog. This week I have a super cute fun fold for you that I'm sure you will love! In next Sunday's blog I feature adorable Butterflies with stamps, dies & DSP. I hope you can join me for both of those.
If you would like to order any of the supplies I used today you can head over to my
Stampin' Up® shop using the links below.
If you would like to purchase any of the cards I feature in my blogs they can be found in my FaceBook shop at craftedbyalison.
If you would like me to send you a catalogue then please message me via my FaceBook page, Crafted by Alison or send me an email at craftedbyalison@gmail.com.
Thanks for stopping by, til next time, take care & keep creating! XX Alison


Comments
Post a Comment