Mid Week blog #82 Side Panel Pillar fun fold
Hello & welcome to my blog,
My name is Alison & I am an independent Stampin' Up® demonstrator in Melbourne, Australia. I love creating cards & gifts for my loved ones & this blog will show you how to create something special for those you love. I blog twice a week, once on a Sunday where I mainly showcase a stamp set or dies & sometimes special DSP. My second blog is mid week on a Wednesday where I look at techniques, colour challenges, card sketches, fun folds, tools & equipment & ways to make or improve your projects. That's what this blog is about.
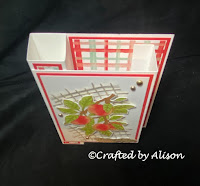
Today I have a fun fold for you that is easy but has a wow factor called a Side Panel Pillar fold.
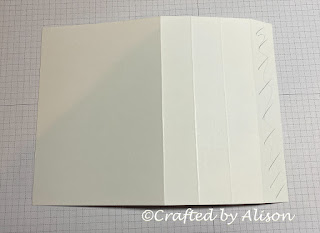
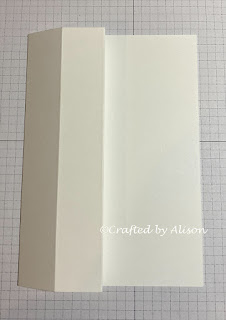
Here are some pics of the process I used to create it...
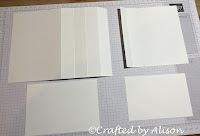
Using Basic White I cut 4 pieces as follows:
Card base: 20.5cm x 14.8cm, scored at 2.5cm, 5cm, 7.5cm &10cm on the long side.
Front step: 13cm x 13cm, scored at 1.5cm & 4cm.
Back writing area: 9.5cm x 13.8cm
Scrap piece for stamping.
For the matte I chose Poppy Parade, cutting 3 mattes & 3 pillar strips as follows:
Base front matte: 7.5cm X 14.3cm
Back matte: 10cm x 14.3cm
Front step: 8.5cm x 12.5cm
Pillar strips: 2 pieces 2cm x 14.3cm, 1 piece 2cm x 12.5cm
The DSP I chose is from the Rings of Love pack & are cut as follows:
Base front: 7cm x 13.8cm
Back matte: 9.5cm x 13.8cm
Pillars: 2 pieces 1.5cm x 13.8cm, 1 piece 1.5cm x 12cm
The following pictures show how the card was glued together to create the card.


Comments
Post a Comment