

Mid week blog #99 - Square tri-fold fun fold
Hello & welcome to my blog,
My name is Alison & I am an independent Stampin' Up® demonstrator in Melbourne, Australia. I love creating cards & gifts for my loved ones & this blog will show you how to create something special for those you love. I blog twice a week, once on a Sunday where I mainly showcase a stamp set or dies & sometimes special DSP. My second blog is mid week on a Wednesday where I look at techniques, colour challenges, card sketches, fun folds, tools & equipment & ways to make or improve your projects. That's what this blog is about.
In this week's blog I'm sharing a fun fold I saw that looks really cool, allows you to use up DSP (if you're a bit of a hoarder like me or just have a little more than your should!) plus it's a lot easier to create than you'd first think. I took lots of pics to show you just how easy it is to create this style of fun fold.
I hope you enjoy this post as I walk you through how I created it. Here's the finished card & matching envelope for you first.


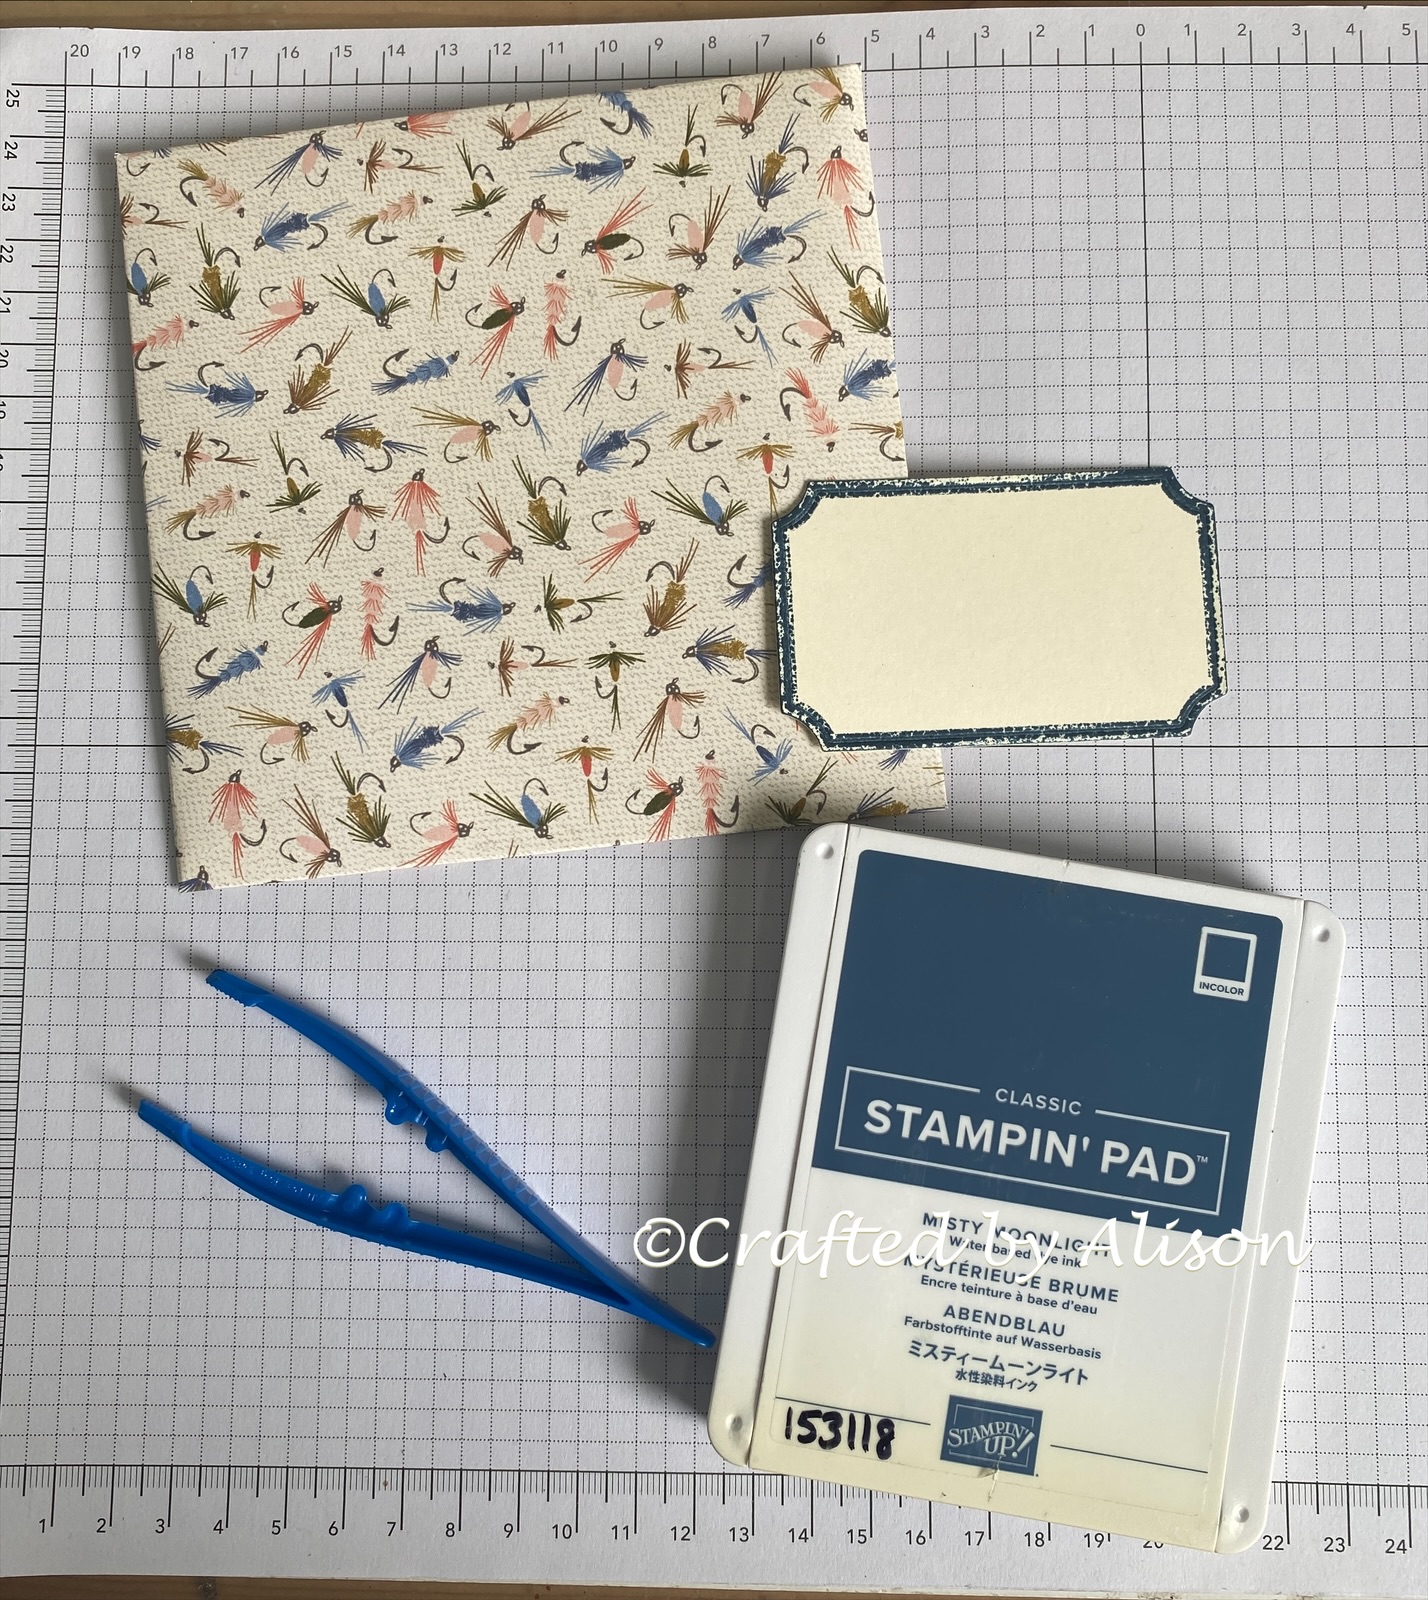
My starting supplies were Night of Navy & Very Vanilla cardstock, Let's Go Fishing DSP & the Let's Go Fishing stamp set. I originally planned on using the matching dies but didn't need them after all.
I used imperial measurements as my inspiration came from a Mary Knabe creation.
A Night of Navy base was cut to 5 1/4" x 8 3/4" then scored at 3 1/2" and 5 1/4" on the long side.
I then cut 2 Very Vanilla squares, 3 1/4" x 3 1/4" and adhered them to the bottom left & top right corners of the card.

Next you line up the card at 1 3/4" with the long side at the top & score down 1 3/4" which is just above the Very Vanilla square. Flip the card 180° & repeat the scoring.
Now turn the card 90° to have the short side at the top. Position the cutting blade at the score line you just created & cut from the top score line down to the second score line. Flip the card 180° & repeat the cutting.
With some gentle pushing on the top cut & scored lines you create a valley fold inwards & repeat with the bottom cut & score lines to create a mountain fold. Here are some pics to give you a visual of the folds.


I then created 2 smaller cards with Night of Navy, measuring 3" x 6", scored in half.

Two 2 3/4" x 2 3/4" squares were adhered inside.

These were then adhered on the Very Vanilla squares of the card.

To decorate the front of the mini cards I cut 2 circles of Terracotta Tile using the Deckled Circles dies plus 2 slightly smaller DSP circles to layer on them.

These were added to the mini cards

The last step to decorate the card was to cut seven 1 1/2" squares of DSP to add to the spaces on the card. I stamped a sentiment on one card along with an image & then stamped & water painted a part of a fish on the second card to leave room for writing a message.

I generally decorate an envelope to match my cards but this time I decided to create a special envelope using some of the gorgeous DSP. Here are the steps if you'd like to make one yourself.

Cut DSP to 8 1/2" x 8 1/2".
I used a score board with a diagonal board & scored at the 4 5/8" mark on each side. You can see the partially folded lines in the pic above.

The small triangles created when the score lines intersect were then cut out to allow the envelope to fold easily. The score lines were folded & scored well before applying double sided tape to areas that will overlap.

Now that is how you can leave the envelope if you intend to hand the card to the recipient but I thought that if you wanted to post it or add a name to the front of the envelope then a tag would be usefuel.


Comments
Post a Comment