Hello & welcome to my blog,
My name is Alison & I am an independent Stampin' Up® demonstrator in Melbourne, Australia. I love creating cards & gifts for my loved ones & this blog will show you how to create something special for those you love. I blog twice a week, once on a Sunday where I mainly showcase a stamp set or dies & sometimes special DSP. My second blog is mid week on a Wednesday where I look at techniques, colour challenges, card sketches, fun folds, tools & equipment & ways to make or improve your projects. That's what this blog is about.
I love creating unique background & I love colour & colouring so this week I have created some backgrounds for cards using all of these things simply by using some cling wrap, ink pads & cardstock.
Here are 3 different versions of the sponged backgrounds...

To create these I started with some cling wrap from the kitchen, cutting off a good size of it

& scrunching it up...


Once I had scrunched, opened it up & scrunched it again I inked it up on a regular inkpad...


making sure that my workspace was covered & dabbing randomly, both first & second generation to achieve this...
This now became the basis of the following card...
by stamping some of the Beautiful Butterflies images & sentiment in one of the new In Colours - Secret Sea - directly onto the background. This was then backed with some Secret Sea cardstock & then added to a Strawberry Slush card base - another new In Colour. The finishing touch were a few Black Neutral Matte Dots. Here's a close up...
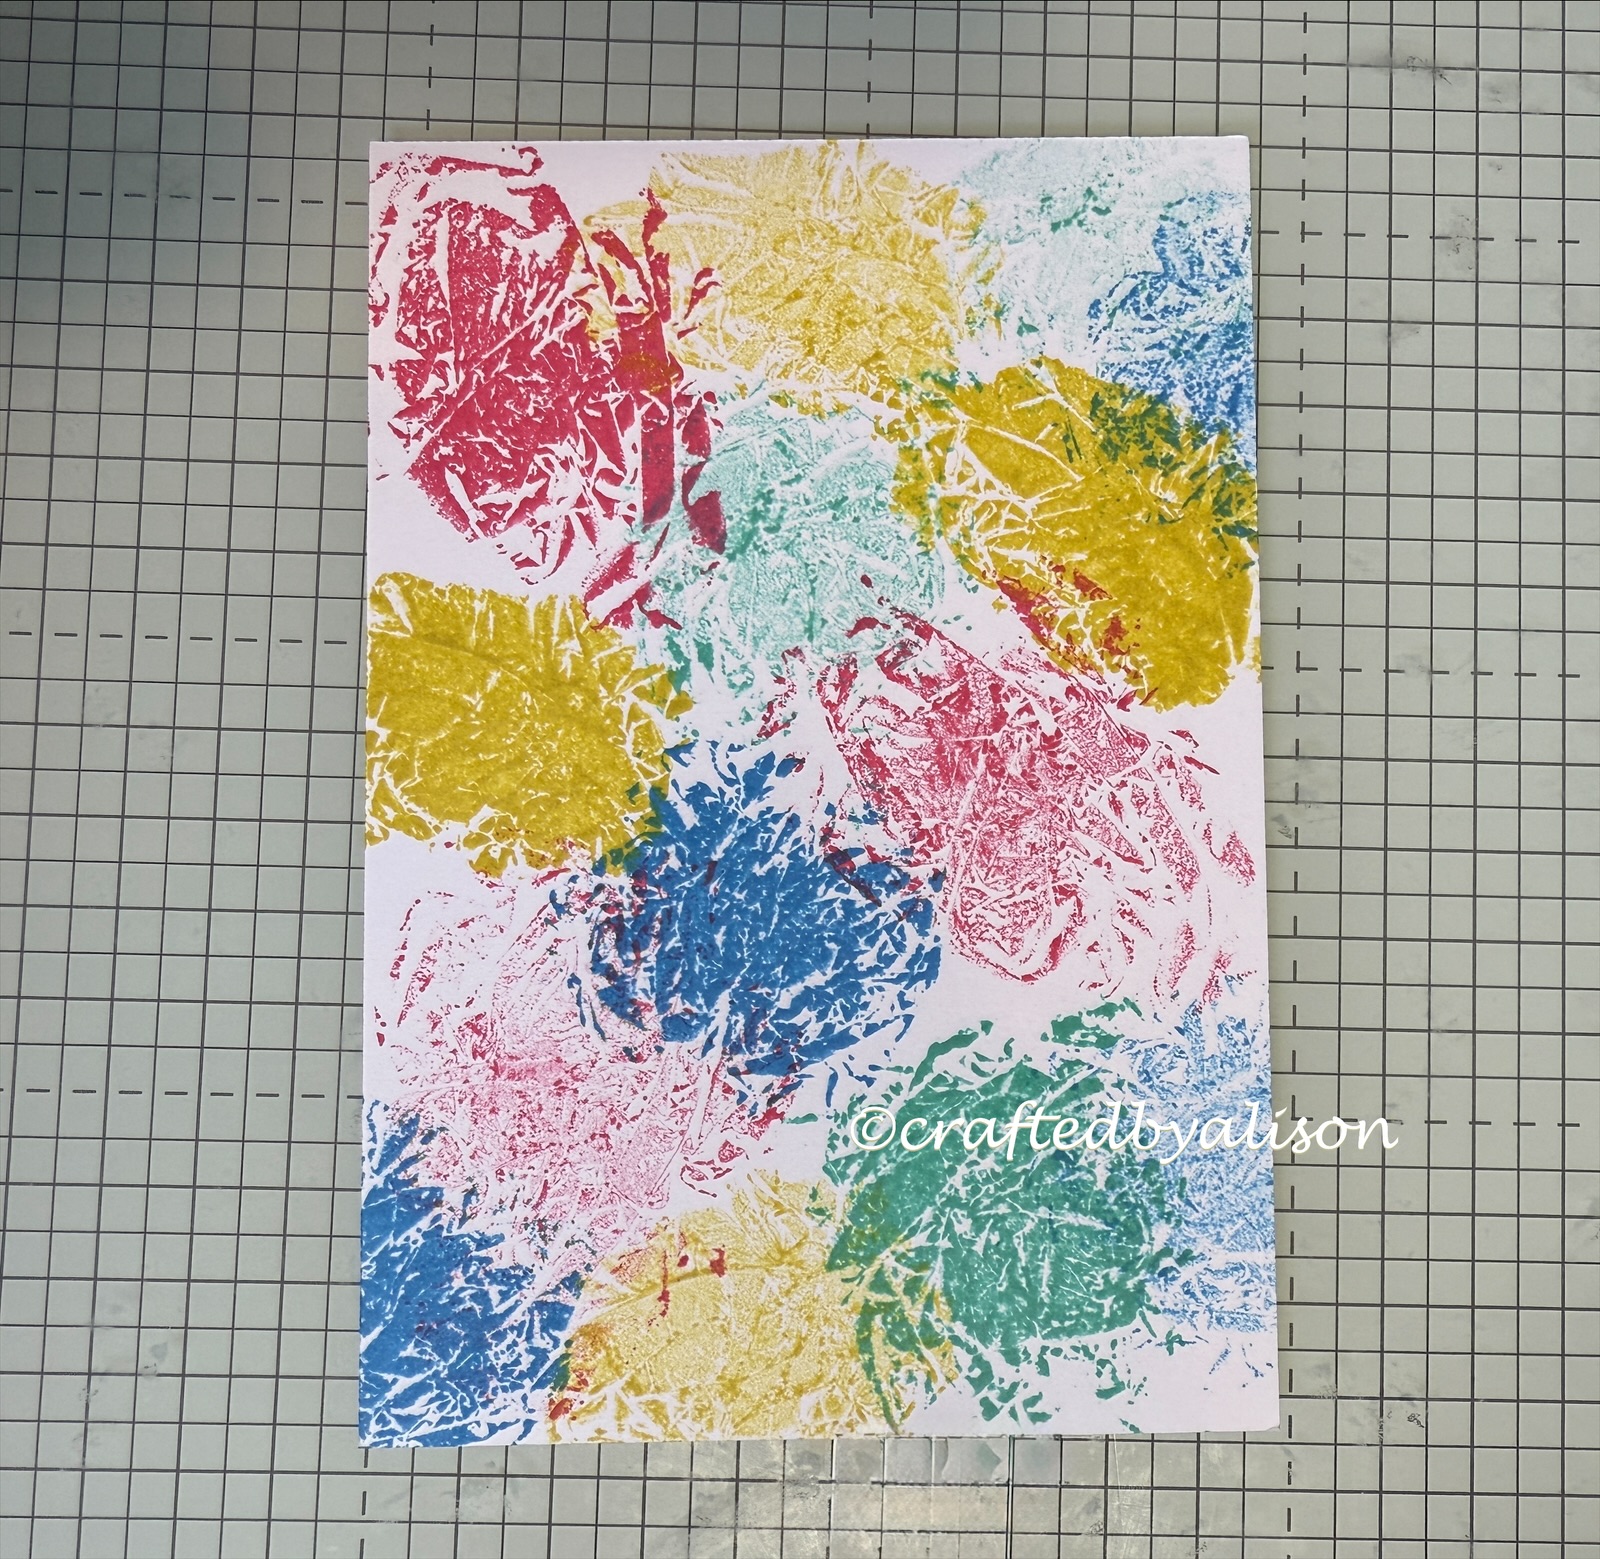
I then decided to experiment with more than one colour for my next card & used 4 different colours - Strawberry Slush, Darling Duckling (another In Colour), Summer Splash & Azure Afternoon.
The important thing when using more than one colour is to make sure you use a new piece of cling wrap to avoid mixing the colours .
This gave me a beautiful rainbow bright background...
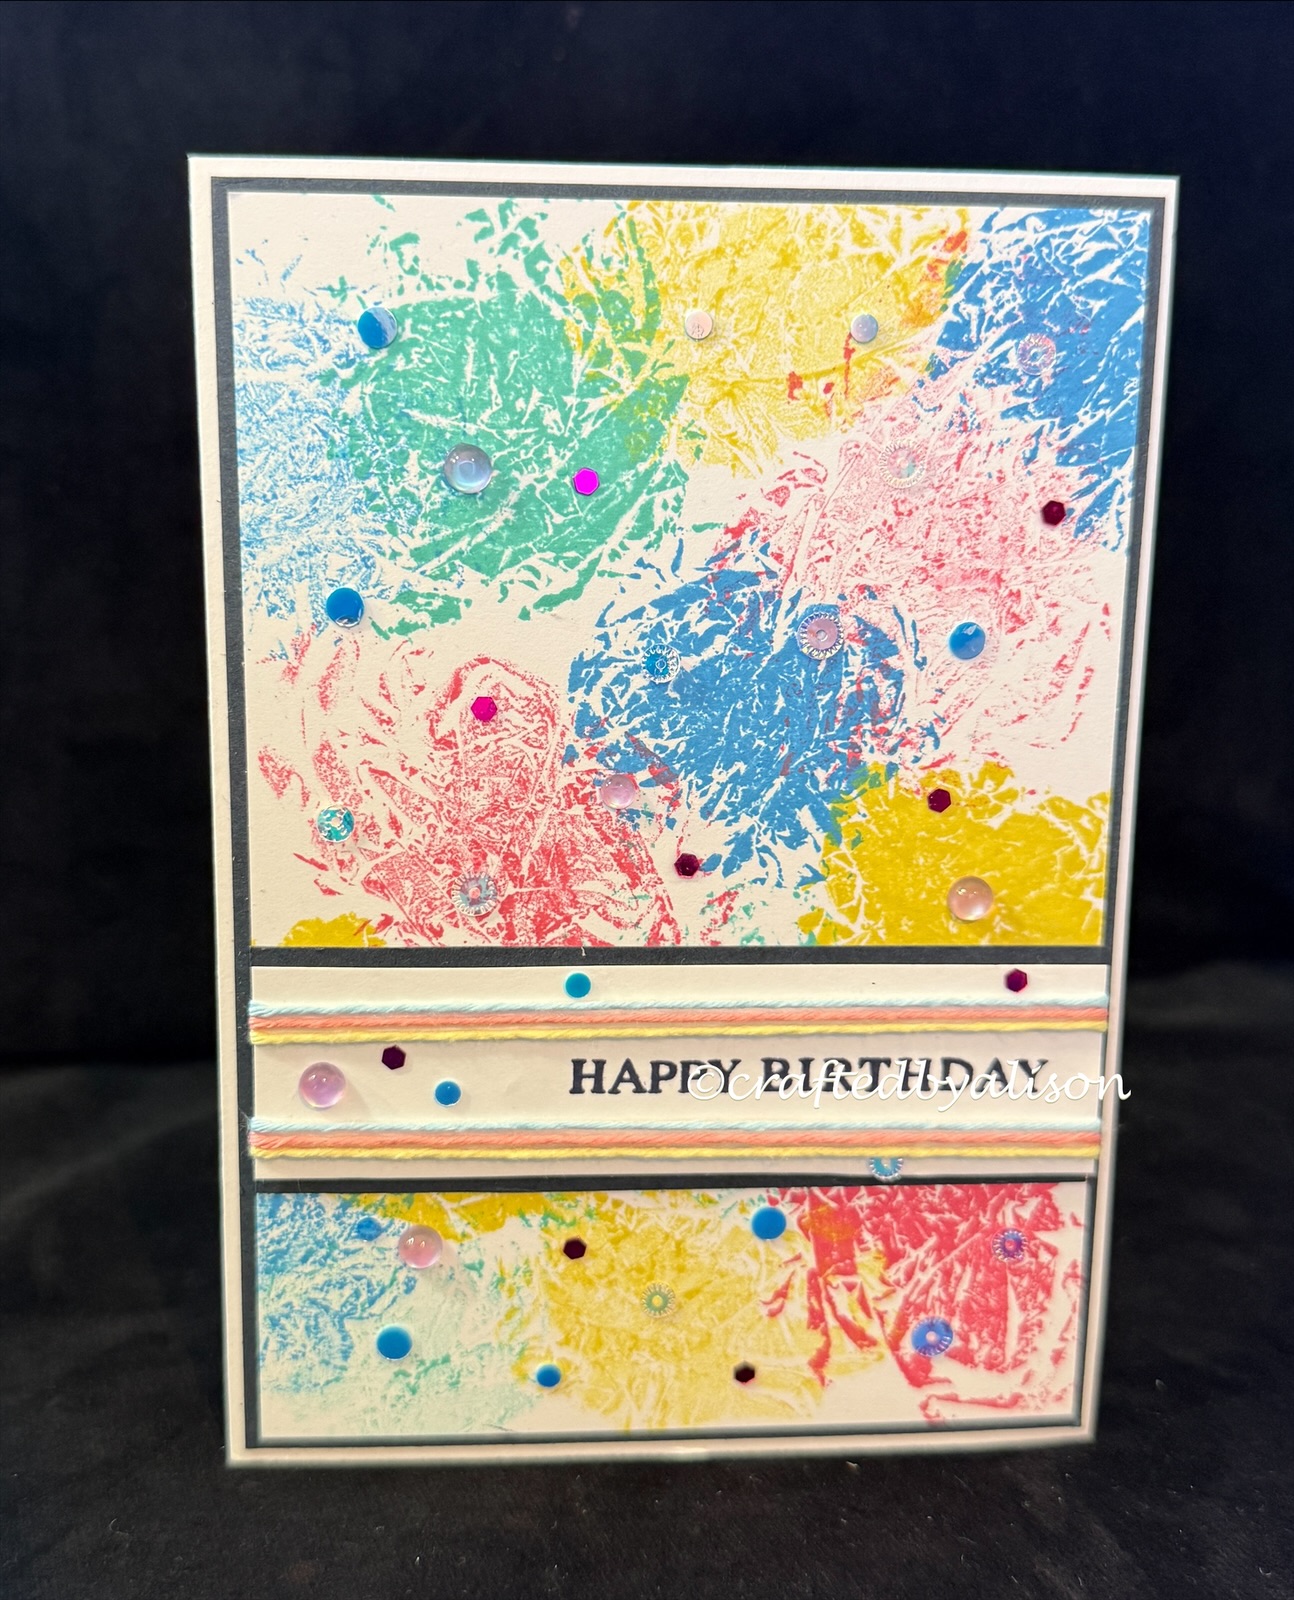
I stamped a sentiment from Beautiful Butterflies on Basic White & matted it on Secret Sea before wrapping 3 colours of twine from the Baker's Twine Three Colour pack around the sentiment then it was added to the background matte & a Basic White base...
To continue on with the rainbow/gelati feel of the card I then added some sparkly sequins from the Itty Bitty Bokeh mix with some liquid glue. It's a riot of colour!!
My last experiment was to see what happened if I used a darker colour card base. I chose Secret Sea cardstock & Whisper White ink...
which gave me this background...
In my opinion it's not as impressive as the previous two backgrounds but gives a leather type finish which I decided to cut into strips to use on a funfold.
To add some more interest to the card I sponged some Secret Sea on the inside of the card.
I chose a diecut piece from the Birthday Treats Ephemera Pack as the focal point for the card front & added to it with some candles, coloured with Stampin' Write® markers, 2 floral diecuts & a sentiment strip with a sentiment from Beautiful Butterflies stamped in Secret Sea.
these were added to a diecut Balmy Blue tag which had Azure Afternoon sponging...
The sponging is quite subtle but when you combine all three sponged elements of the card it comes together well.
So, here are the three completed cards...
It was so much fun playing around with this technique. If you want to create something unique for your cards then I encourage you to have a crack at this easy technique.
That's it for this week's blog. My next blog is on Sunday where I create using Mystery Stamping clues.
Next week's Mid Week blog looks at using leftover strips as a feature element on projects.
I hope you can join me for both of them.
Til next time, take care & keep creating. XX Alison


Comments
Post a Comment